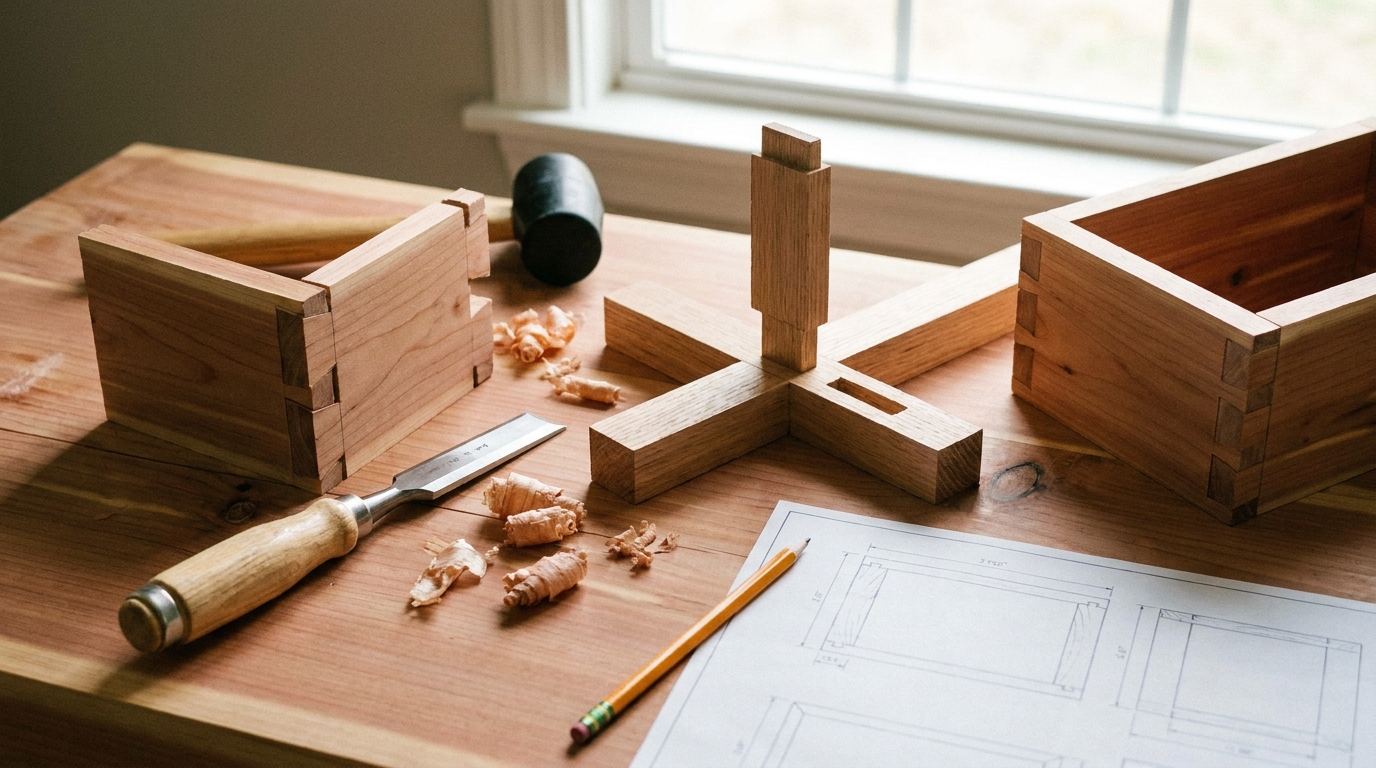

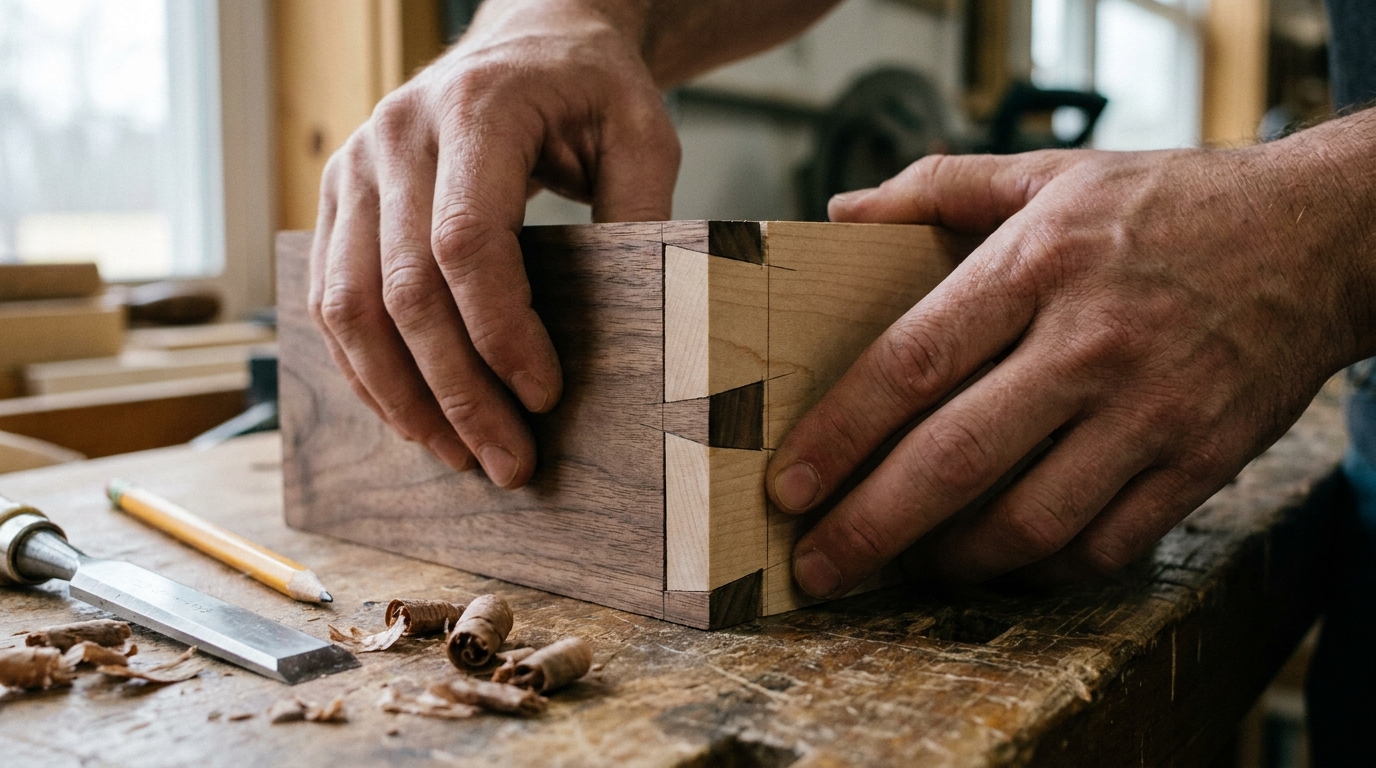
Hand-cut dovetails are a hallmark of high-end cabinetry. The interlocking design creates a joint that is mechanically secure and visually striking. While the layout requires precision, success lies in your control of the hand saw and chisel. Let’s look at the steps to create a gap-free dovetail joint.
Pins First vs Tails First
This is a classic woodshop debate. In my shop, I cut tails first. It allows you to layout the tail board easily, cut it, and then use it as a template to scribe the pins onto the end grain of the mating board. Whichever method you choose, consistency is key.
Step 1: Layout and Scribing
Mark the depth of your joint using a wheel marking gauge set to the exact thickness of your stock. Use a dovetail marker (usually at a 1:6 ratio for softwoods, or 1:8 for hardwoods) to lay out the angles across the end grain.
Step 2: Sawing the Angles
Using a fine-toothed backsaw (a dovetail saw with 15 to 20 TPI), saw down to the gauge line. Keep your wrist relaxed and follow the angle line on the end grain. Let the weight of the saw do the cutting—do not force it, or the blade will wander.
Step 3: Cleaving the Waste
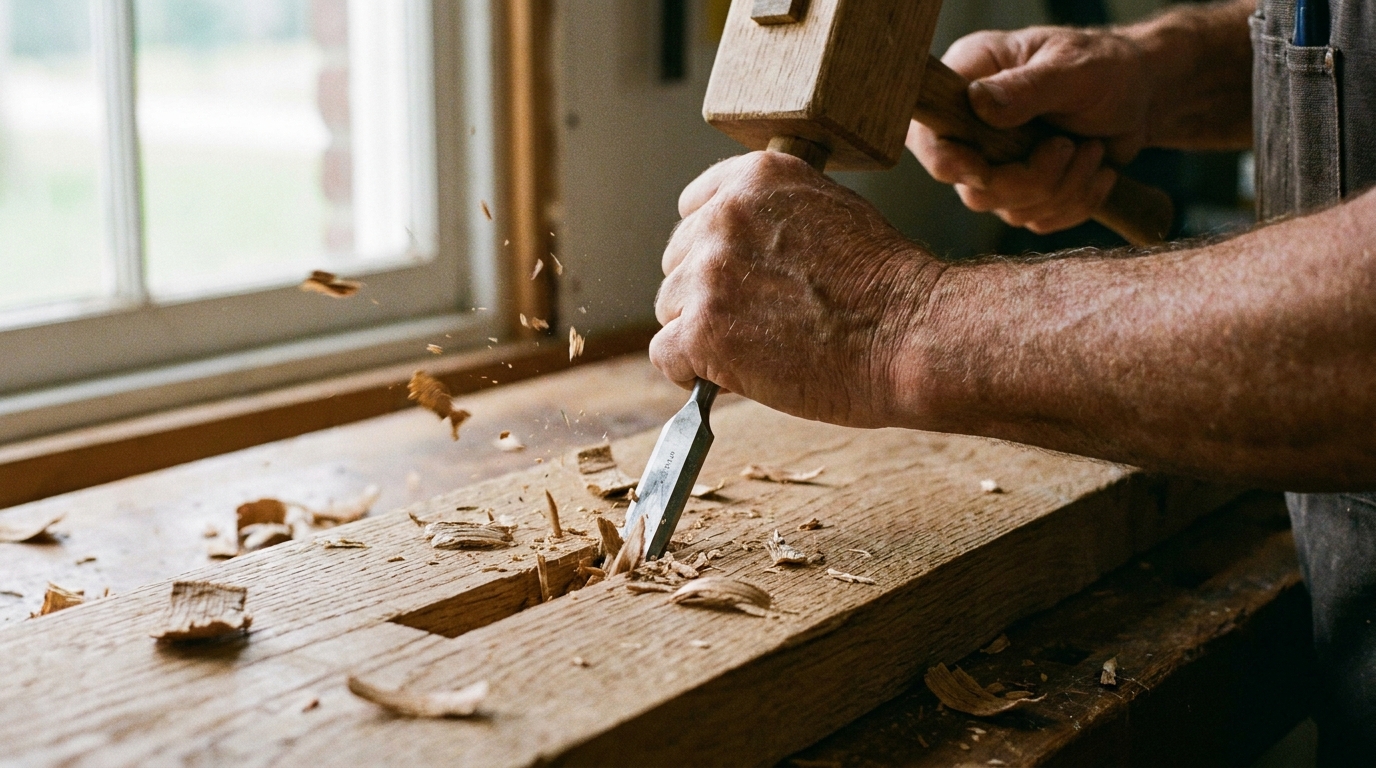
Clamp the board flat on the bench. Using a sharp chisel, chop out the waste between the tails. Chop halfway through from one face, then flip the board and complete the cuts from the other side. This prevents the wood from blowing out on the back face.
Video Guide: Hand-Cut Dovetails Step by Step
For more joinery concepts, see Wood Joinery: Which Joint, When, and Why. To understand the properties of tool blades, read The Complete Guide to Carbide Woodworking Tools.
For step-by-step video reference guides on drawer fitting, check Wood Magazine Online.
Have questions or feedback about this guide? Get in touch with our editorial team on our Contact Us page.