
Fitting a mortise and tenon joint by hand is a rite of passage for furniture makers. While machines can cut the initial shapes, the final fit requires hand tools and a keen eye. A perfect tenon should slide into the mortise with firm hand pressure and hold its shape without glue. Here is how to achieve that fit.
Step 1: Layout and Mortising
Always mark your lines using a marking gauge rather than a pencil. The blade of the gauge cuts the fibers, providing a physical wall for your chisel to register. Bore out the bulk of the waste using a brad-point bit or a Forstner bit, keeping the drill press set slightly shallower than the final mortise depth.
Step 2: Chiseling the Walls
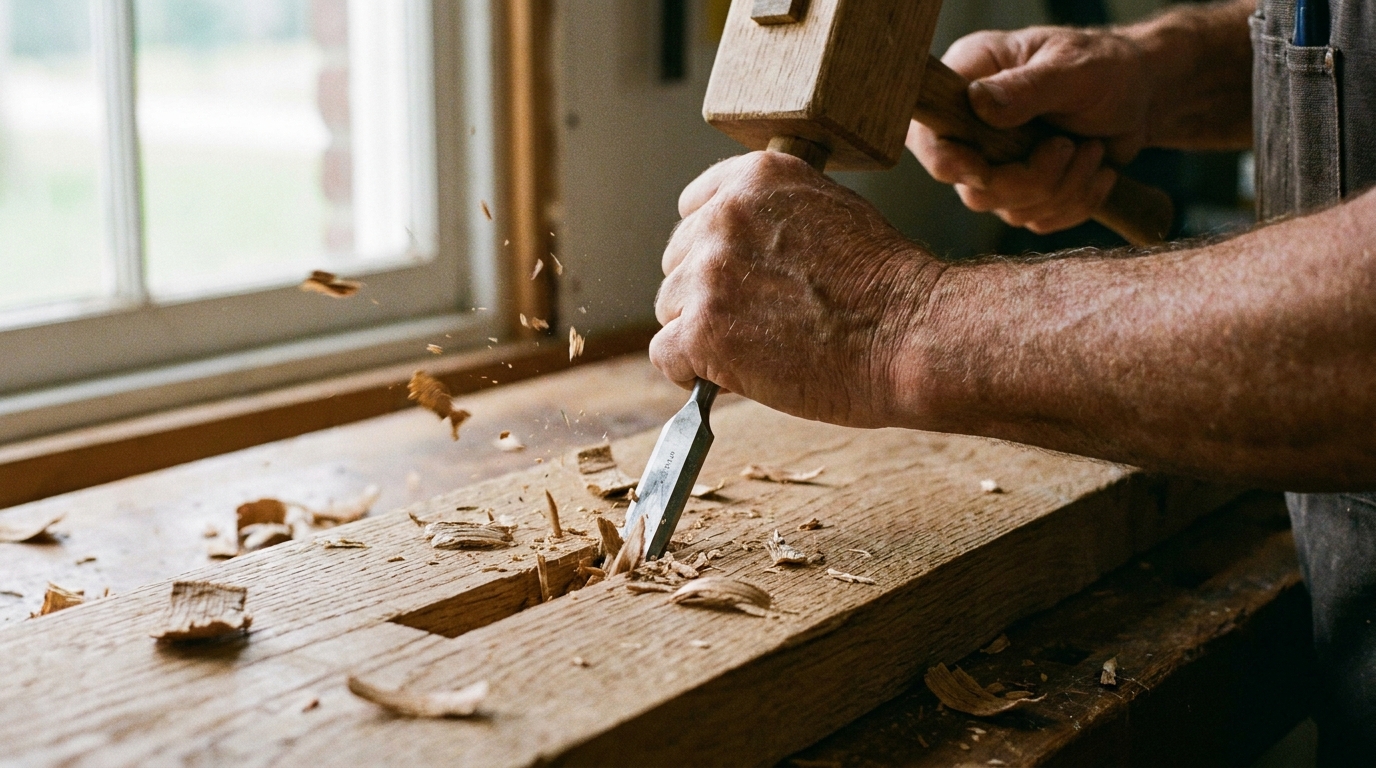
Secure the workpiece to your bench. Using a sharp bench chisel, square the rounded ends of the mortise. Work from the center toward your scribed layout lines, making light vertical cuts. Never pry against the delicate end-walls of the mortise, as this will crush the wood fibers and create gaps.
Step 3: Fitting the Tenon
If the tenon is too fat, use a router plane or shoulder plane to remove thin shavings from the cheeks. Work parallel to the grain, taking cuts of about 0.002 inches. Test-fit the joint frequently. If the tenon binds, check for high spots on the shoulders or inside the corners of the mortise.
Video Guide: Mortise and Tenon by Hand
For more about joinery selection, see our cornerstone guide Wood Joinery: Which Joint, When, and Why. To ensure your drill bits bore clean registration holes, check Drill Bits for Furniture Makers: Every Type Explained.
For premium hand planes and layout tools, browse Lee Valley Tools.
Have questions or feedback about this guide? Get in touch with our editorial team on our Contact Us page.